Beginner Sourdough Starter Recipe
Making a sourdough starter at home is not a complicated process - you just mix flour and water together and wait. Before you know it, you'll have your own bubbly, active starter ready to make sourdough bread at home.

What is a sourdough starter?
Sourdough starter is a "wild" yeast, made from flour, water and the wild yeast in the air-around us - used to replace store-bought yeast.
Sourdough bread may be easier to digest than white bread for some people. According to some studies, sourdough bread acts as a prebiotic, which means that the fiber in the bread helps feed the "good" bacteria in your intestines. These bacterias are important for maintaining a stable, healthy digestive system.
Sourdough is also lower in gluten than other forms of bread. It appears that the acid in the bread degrades gluten. As a result, people with gluten sensitivities may find that sourdough is easier on their stomach.
Beginner Sourdough starter recipe
You'll need:
Supplies
- 3/4 L jar
Ingredients
To create the starter:
- 60g (1/2 cup) organic whole wheat flour
- 60g (1/4 cup) water
To feed the starter each day (day 3-7)
- 60g (1/2 cup) organic whole wheat flour
- 60g (1/4 cup) water
Day 1: make your sourdough starter
Combine 60g (1/2 cup) of organic whole wheat flour and 60g (1/4 cup) of warm (not boiling) water in a large jar.
Mix with a fork until smooth, the consistency will be thick and pasty. Cover with a plastic, bees wax wrap or a lid, and let it rest in a warm spot, about 25C° (75-80F) for 24 hours.

Day 2: got bubbles?
After the first 24 hours, there may or may not be a bit of bubbling. Bubbles indicate fermentation, which is what you want. Let the mixture rest until you see activity (bubbles or rising) sometimes this takes 36 hours if very cold.
Today, you don't have to do anything. Just rest the starter in your warm spot for another 24 hours.
Day 3: feed your starter
After 24 hours, hopefully, you will see some bubbling or rising and if not, let it go a bit longer until you see activity. Be patient.
If you do see bubbles, it's time to feed your sourdough starter for the first time: remove and discard approximately half of your starter from the jar (so you'll have 60g left). Use a spoon, the texture will be very sticky. Add 60g (1/2 cup) of flour and 60g (1/4) of warm water. Mix with a fork until smooth.
Cover and let rest in your warm spot for another 24 hours.
Days 4, 5 & 6: keep on feeding
Repeat the same feeding process as outlined on day 3.
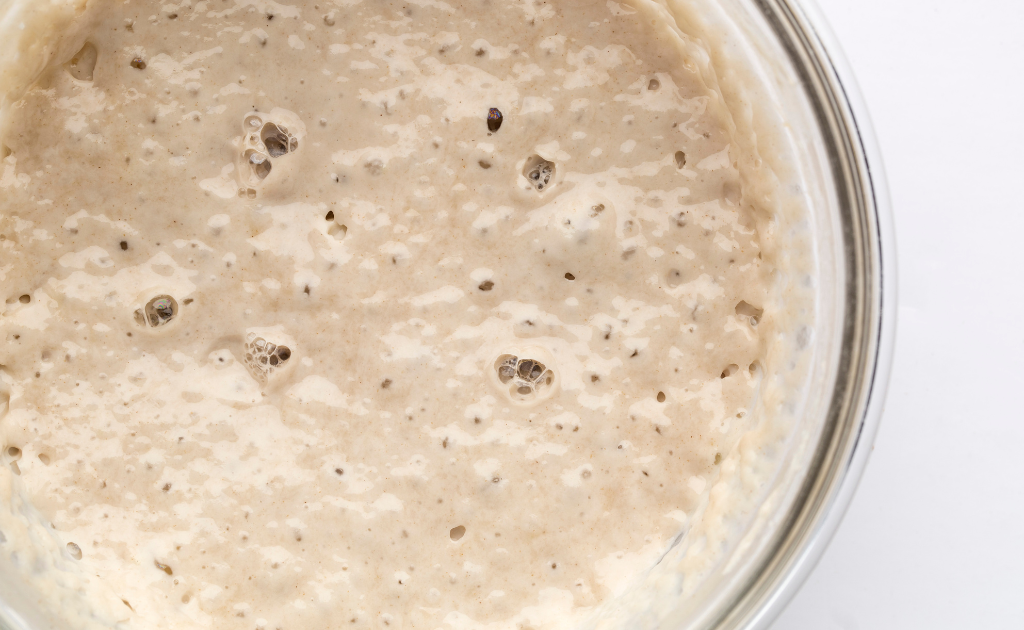
As the yeast begins to develop, your starter will rise, and bubbles will form on the surface and throughout the culture.
When the starter falls, it's time to feed it again.
Tip: place a rubber band or piece of marking tape around the jar to measure the starter's growth as it rises.
Days 7: a sourdough starter is born!
By now, your sourdough starter should have doubled in size.
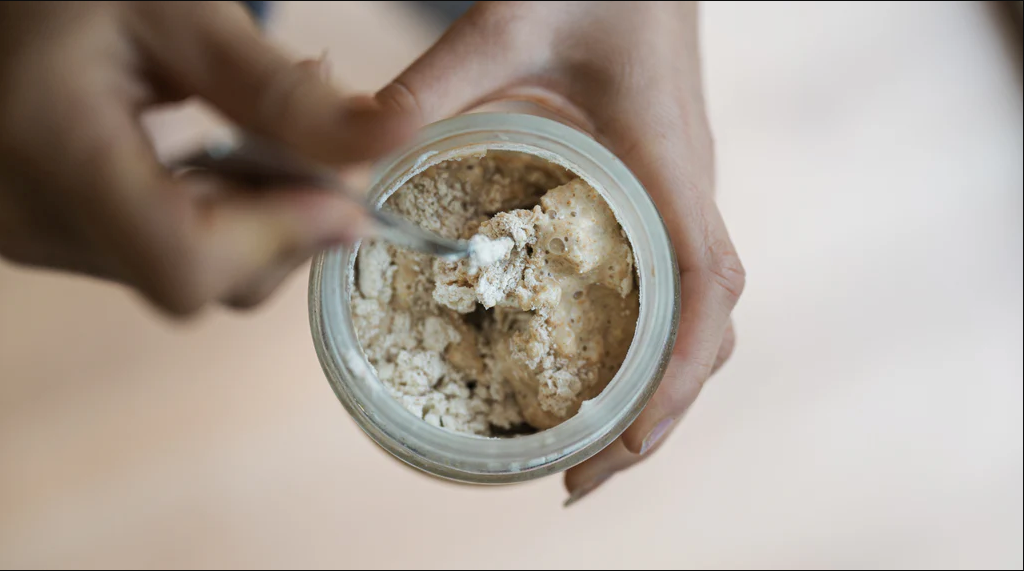
You should have plenty of bubbles, both large and small. The texture will now be spongy and fluffy. The last step is to transfer your sourdough starter to a clean jar.
You can keep your starter in the fridge until you're ready to bake.
Troubleshooting
- Smell: Your sourdough starter should smell sweet and tangy, and not "bad". If it really smells foul or unpleasant, you may have used an unclean jar, or somehow introduced other bad bacteria. Best to start over.
- Mold: If you see any discoloring or mold on the surface, your starter was probably contaminated. Best to start over.
- Liquid: If you see any liquid at the top of your starter, it means your sourdough starter is hungry (and still alive). You can stir the liquid in or pour the liquid out.

Personal Gut health plan
Answer a specific set of questions carefully designed by Australia's top gut health experts.
- Takes less than 3 minutes
- Get a plan for your gut challenges


